Appearance

Welcome, fellow developers! 👋 Today, we're taking a deeper dive into the powerful world of Git, moving beyond the everyday commit, pull, and push commands. While those are essential, truly mastering Git involves understanding more advanced concepts like rebasing and cherry-picking. These techniques can significantly streamline your workflow, maintain a cleaner project history, and make you a more efficient collaborator.
If you're new to Git or need a refresher on the basics, I highly recommend checking out our article on Understanding Git and Version Control. This article assumes you have a foundational understanding of Git.
🌟 Why Go Advanced with Git?
As projects grow and teams expand, the complexity of managing code revisions increases. A messy Git history with numerous merge commits can make it challenging to track changes, debug issues, and understand the evolution of your codebase. This is where advanced Git commands come into play, offering surgical precision in managing your commits.
🔄 Git Rebase: Rewriting History for Clarity
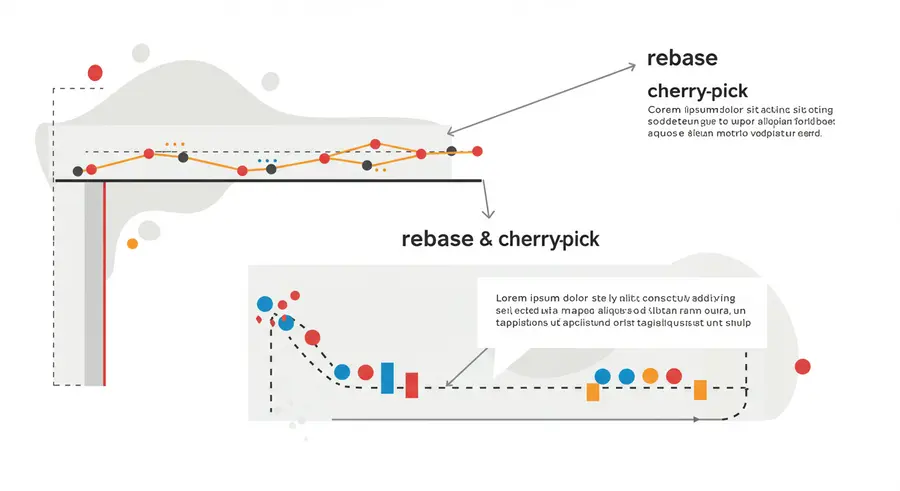
git rebase is a powerful command that allows you to integrate changes from one branch onto another by moving or combining a sequence of commits to a new base commit. Think of it as rewriting your branch's history to make it linear and clean.
How git rebase Works
When you rebase, Git essentially:
- Goes to the common ancestor of your current branch and the target branch.
- Takes all the commits from your current branch that are not on the target branch and "saves" them temporarily.
- Resets your current branch to the same commit as the target branch.
- Re-applies your saved commits one by one on top of the target branch's latest commit.
Example Scenario:
Imagine you have a feature branch stemming from main, and main has new commits:
A -- B -- C (main)
      \
       D -- E (feature)
If you git rebase main while on your feature branch:
bash
git checkout feature
git rebase main
The history will become:
A -- B -- C -- D' -- E' (main, feature)Here, D' and E' are new commits with the same changes as D and E, but with C as their new parent.
When to Use git rebase
- To maintain a linear project history: This makes
git logmuch cleaner and easier to follow. - To incorporate upstream changes: Before merging your feature branch back into
main, rebasing ensures your feature branch is up-to-date, minimizing merge conflicts. - Before creating a pull request: A clean, rebased branch is easier for reviewers to understand.
Important Considerations: The Golden Rule of Rebasing! ⚠️
NEVER rebase commits that have been pushed to a shared remote repository. Rebasing rewrites history, creating new commits. If others have based their work on your old commits, rebasing will cause conflicts and confusion. Only rebase on branches that are local and not shared.
🍒 Git Cherry-Pick: Selectively Applying Commits
git cherry-pick is a command used to apply the changes introduced by some existing commits from another branch. Unlike git merge or git rebase, which integrate entire branches, cherry-pick allows you to pick and choose specific commits.
How git cherry-pick Works
You provide git cherry-pick with the hash of the commit you want to apply. Git then takes the changes from that commit and creates a new commit with those same changes on your current branch.
Example Scenario:
Suppose you have a bugfix branch with an important fix (commit F) that you need on your main branch immediately, but the bugfix branch isn't ready to be merged yet.
A -- B -- C (main)
      \
       D -- E -- F (bugfix)
To apply commit F to main:
bash
git checkout main
git cherry-pick F
The history will become:
A -- B -- C -- F' (main)
      \
       D -- E -- F (bugfix)
Here, F' is a new commit on main that contains the same changes as F.
When to Use git cherry-pick
- Hotfixes: Quickly apply a critical fix from a development branch to a release branch without merging the entire feature.
- Applying specific features: If a large feature branch contains multiple, independent sub-features, you might cherry-pick a completed sub-feature into another branch.
- Backporting: Applying a fix or feature from a newer branch to an older, stable release branch.
Rebase vs. Cherry-Pick: Choosing the Right Tool
| Feature | git rebase | git cherry-pick |
|---|---|---|
| Purpose | Integrate entire branches, linearize history. | Apply specific, individual commits. |
| History | Rewrites history (creates new commits). | Creates new commit for each picked commit. |
| Use Case | Keeping feature branches up-to-date, cleaning history before merging. | Hotfixes, backporting, applying isolated changes. |
| Shared Branches | Avoid on shared branches. | Safer on shared branches as it doesn't rewrite history of original branch. |
💡 Best Practices and Tips
- Always commit frequently: Small, atomic commits make rebasing and cherry-picking easier to manage.
- Use
git log --graph --oneline --all: Visualize your repository's history to better understand what's happening. - Interactive Rebase (
git rebase -i): This is an even more powerful form of rebase that allows you to squash, reorder, edit, or even delete commits during the rebase process. It's fantastic for cleaning up your local history before pushing. - Understand conflicts: Both commands can lead to merge conflicts. Be prepared to resolve them. Git will pause the operation, allowing you to fix the conflicts,
git addthe resolved files, and thengit rebase --continueorgit cherry-pick --continue. - Backup your branch: If you're unsure, create a backup branch (
git branch backup-feature) before performing a complex rebase.
Conclusion
git rebase and git cherry-pick are indispensable tools in an advanced Git user's toolkit. While they require a bit more understanding and caution, especially rebase, the benefits of a clean, readable, and efficient commit history are well worth the effort. By mastering these commands, you'll not only improve your personal development workflow but also contribute to a more maintainable and collaborative codebase for your team.
Happy Gitting! 🚀